

Hello everyone! I'm today's guest blogger- with a post you won't want to skip!
Our topic is Maker Bookmarks, as you probably saw by the title. Making these handy place-savers is fun, easy, and highly customizable, so let's get to making!
Here are the materials I used to create this project:

You'll definitely want to invest in some 3-Doodler molds to get started. These are rubber, which is perfect for peeling off your design. I used the Shapes and Symbols molds, but other fun animals and shapes are available as well. Truly a simple process. Of course, you can always freehand the design if you would like, but the molds helped me because I'm not an artist by any means. These molds work by filling the shape using the 3-Doodler, waiting about 30 seconds for it to dry completely, then peeling it off. That simple!
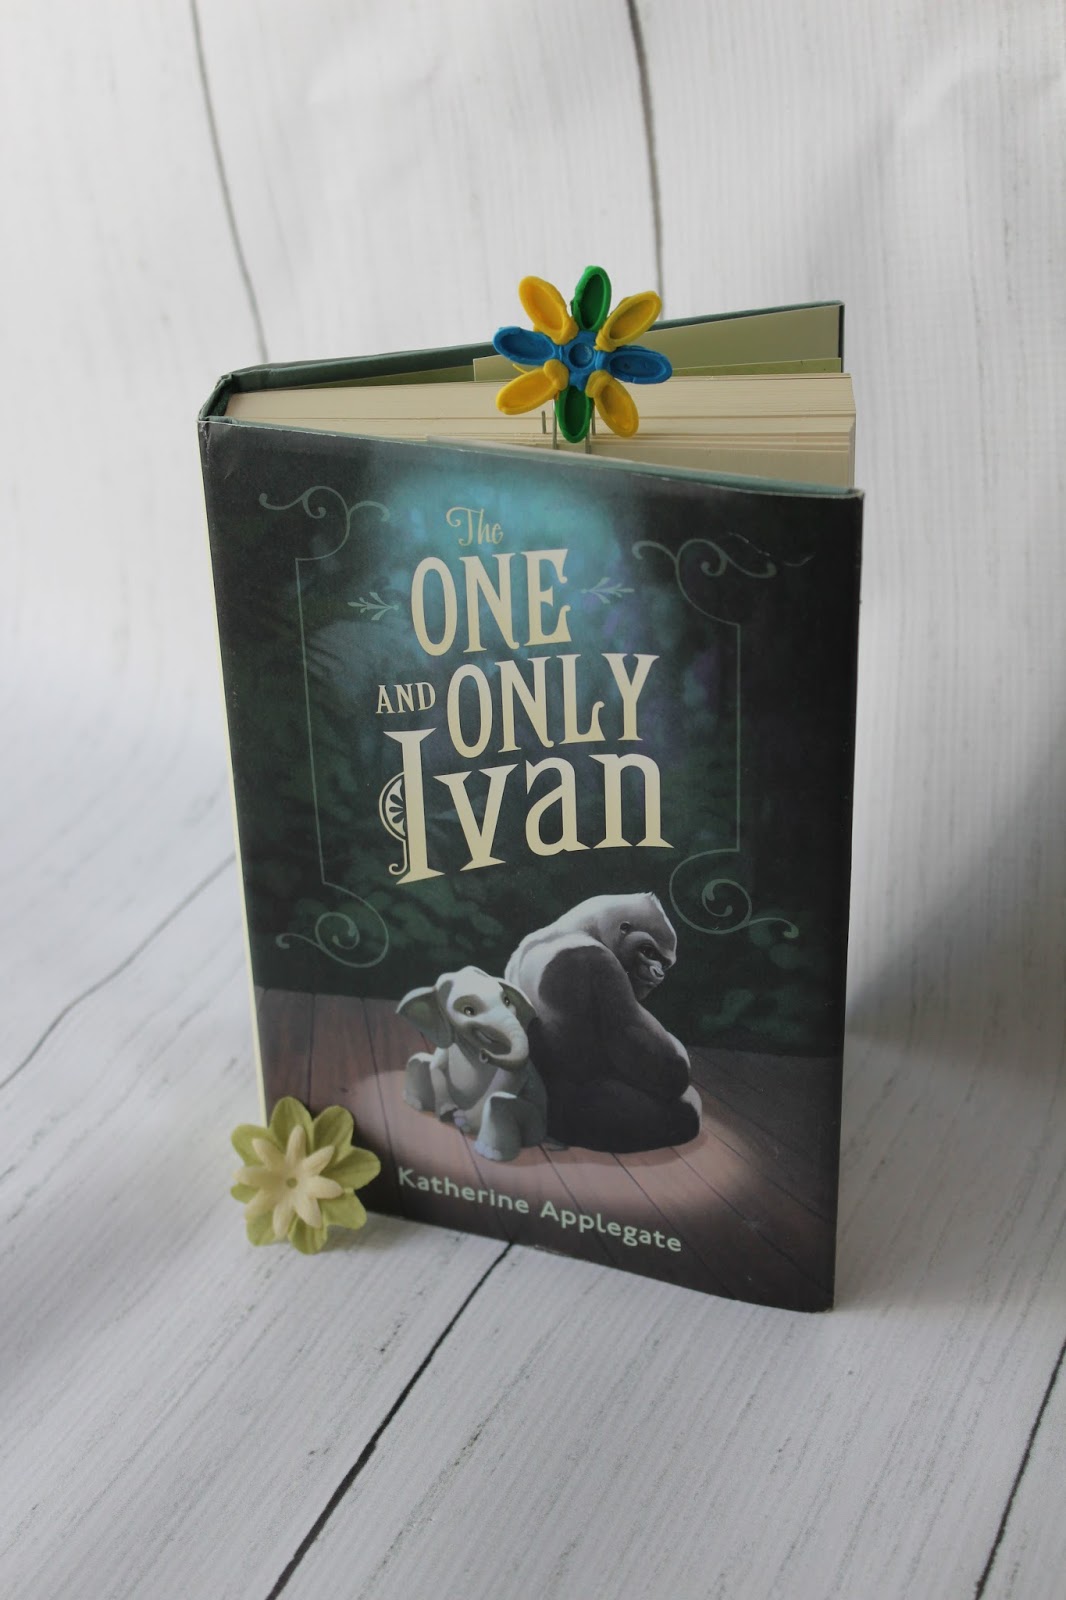
When I say these bookmarks are totally customizable, I mean it! You can make these as simple or complicated as you like, which makes this project a fun one for kids as well as adults. Once you have made a shape, feel free to get creative and combine multiple of your creations to make other designs. For example, I made a flower using a circle for the center, in which 8 ovals branched out to form multicolored petals, as shown below. To attach the shapes, use more 3-Doodler plastic on the back of the design.

The final step is to attach your design to a paperclip. I prefer the jumbo-size so that the paperclip is not entirely taken up by the design, therefore still able to clip onto paper. Attach the clip and your design by using 3-Doodler plastic, then hold the two together until dry. Ta-da! Your unique DIY bookmark is ready to be used- so get to reading! These would also make adorable gifts for teacher appreciation or your bookworm friend.
Here are a few bookmarks that I have made:


No comments:
Post a Comment